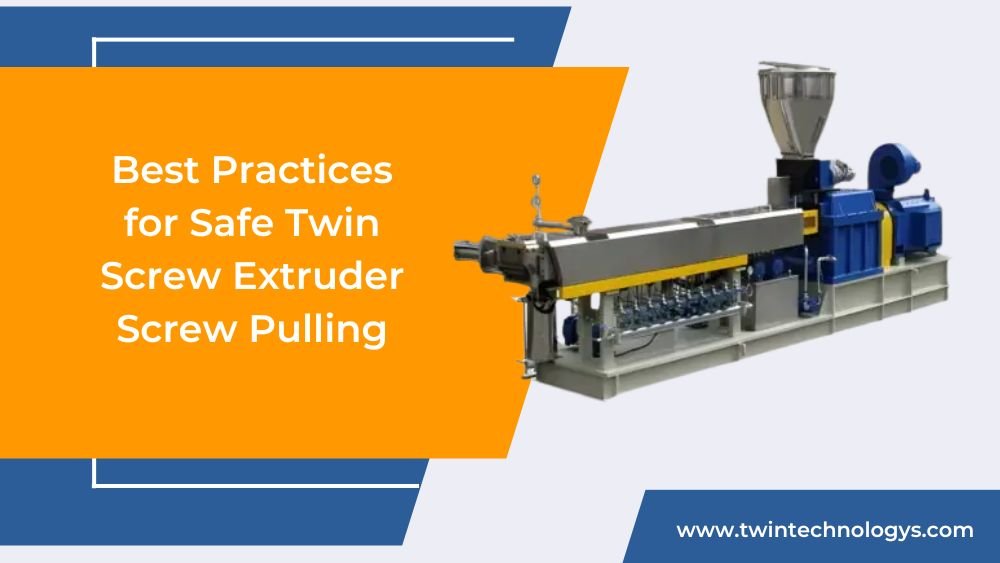
The screw pull is one of the most critical maintenance procedures in any compounding facility. It is your only opportunity to inspect the “heart” of your machine, clear out degraded material, and assess wear levels. However, if done incorrectly, it is also when most avoidable damage occurs to both the barrel liners and the screw flights.
At Twin Technologys, we have seen the results of “rushed” screw pulls—from scored barrel surfaces to chipped kneading blocks. Here is how to perform this procedure safely and efficiently.
1. Preparation: The Key to Success
Before you begin, ensure the extruder has been properly purged.
- Purge Materials: Use a high-quality purging compound designed for your specific resin. A clean screw pull starts with a machine that has been properly flushed.
- Temperature Matters: Never pull a screw while the barrel is cold. Ensure the barrel temperature is set to the manufacturer’s recommended “warm-up” temperature to prevent material from becoming “stuck” against the barrel wall.
2. Executing the Pull
- Alignment is Everything: Use the correct shaft support tools. Never let the weight of the screw hang on the barrel liner. Any sagging during the pull will result in metal-on-metal contact, scoring your expensive barrel walls.
- Consistent Speed: Pull the screw at a slow, steady speed. Sudden jerky movements can cause the screw tips to strike the barrel surface.
3. Cleaning Without Damage
Once the screws are out, the temptation is to use wire brushes or heavy-duty scrapers. Avoid this.
- The Problem: Scrapers and hard metal brushes can introduce microscopic scratches into the screw elements. These scratches become “nests” for burnt material in your next production run, leading to specks and quality issues.
- The Better Way: Use soft brass or plastic scrapers. If material is heavily caked, use controlled heat or specialized chemical cleaning solutions that dissolve the polymer without harming the metallurgy of the screw elements.
4. Inspection During Cleaning
Use the pull as an audit opportunity:
- Look for Chipping: Check the corners of your kneading blocks for chips.
- Check Intermeshing: Look for signs of “wear patterns” on the tips. If the wear is uneven, your shaft alignment or your feeding profile may be the root cause.
- Document Wear: Take photos. Keep a “wear log” for each set of screws. This data will tell you exactly when to order your next custom replacement set.
Conclusion
A screw pull should be a routine maintenance task, not a crisis event. By following a structured process and using the right cleaning tools, you can keep your machine in top condition and avoid the premature wear that plagues less disciplined maintenance teams.